
Begin by thoroughly measuring your venue space and understanding its limitations and advantages. Document ceiling heights, pillar locations, exits, restrooms, and any architectural features that will impact your layout. Consider both indoor and outdoor spaces if applicable, and note any restrictions from venue management.
Venue Layout Planning for 300 Guests: Complete Step-by-Step Guide
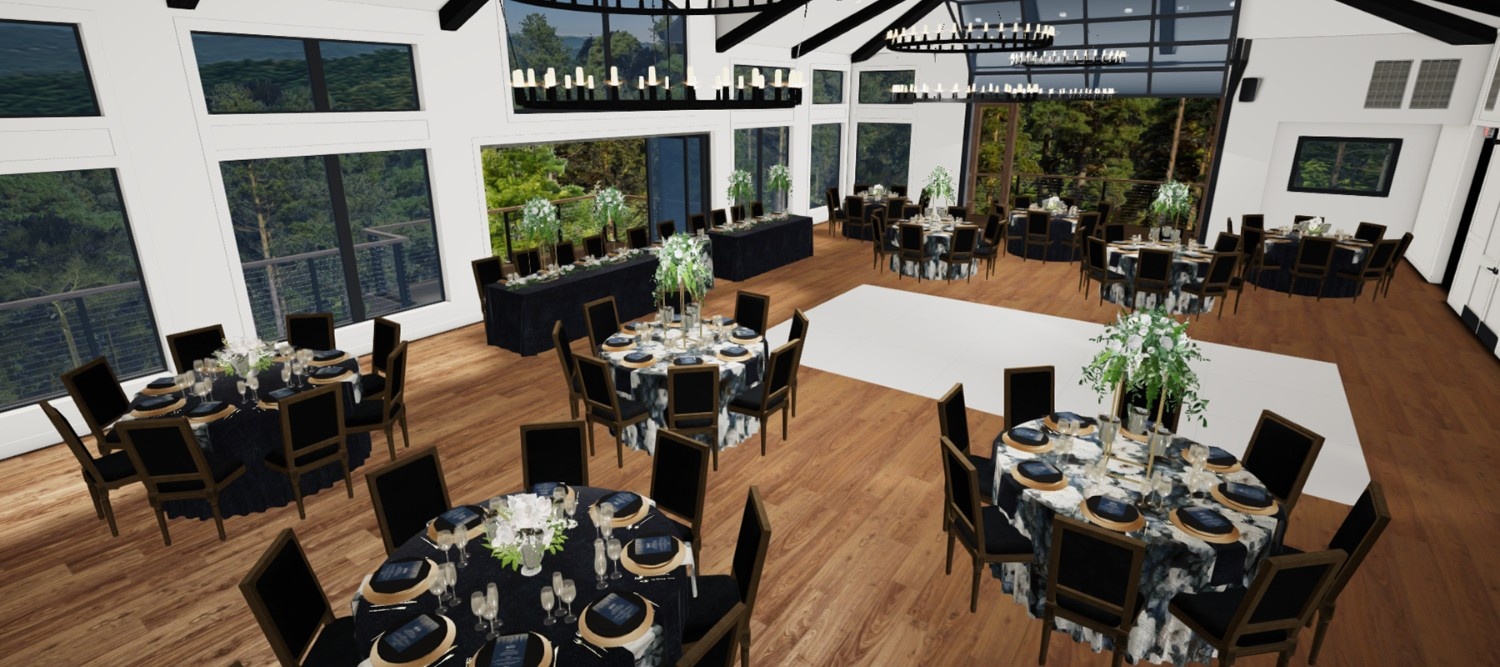
Table of Contents
Step 1: Assess Your Venue Space and Capacity
✨ Space Assessment Tips:
- ✓Measure total square footage and create a scaled floor plan
- ✓Identify fixed elements like pillars, stages, and service areas
- ✓Check venue capacity limits and fire safety requirements
- ✓Document lighting, electrical outlets, and HVAC considerations
Pro Tip:
Use Reverse Auction to get competitive quotes from venue designers and space planners who can help optimize your layout.
Step 2: Choose Your Seating Arrangement Style
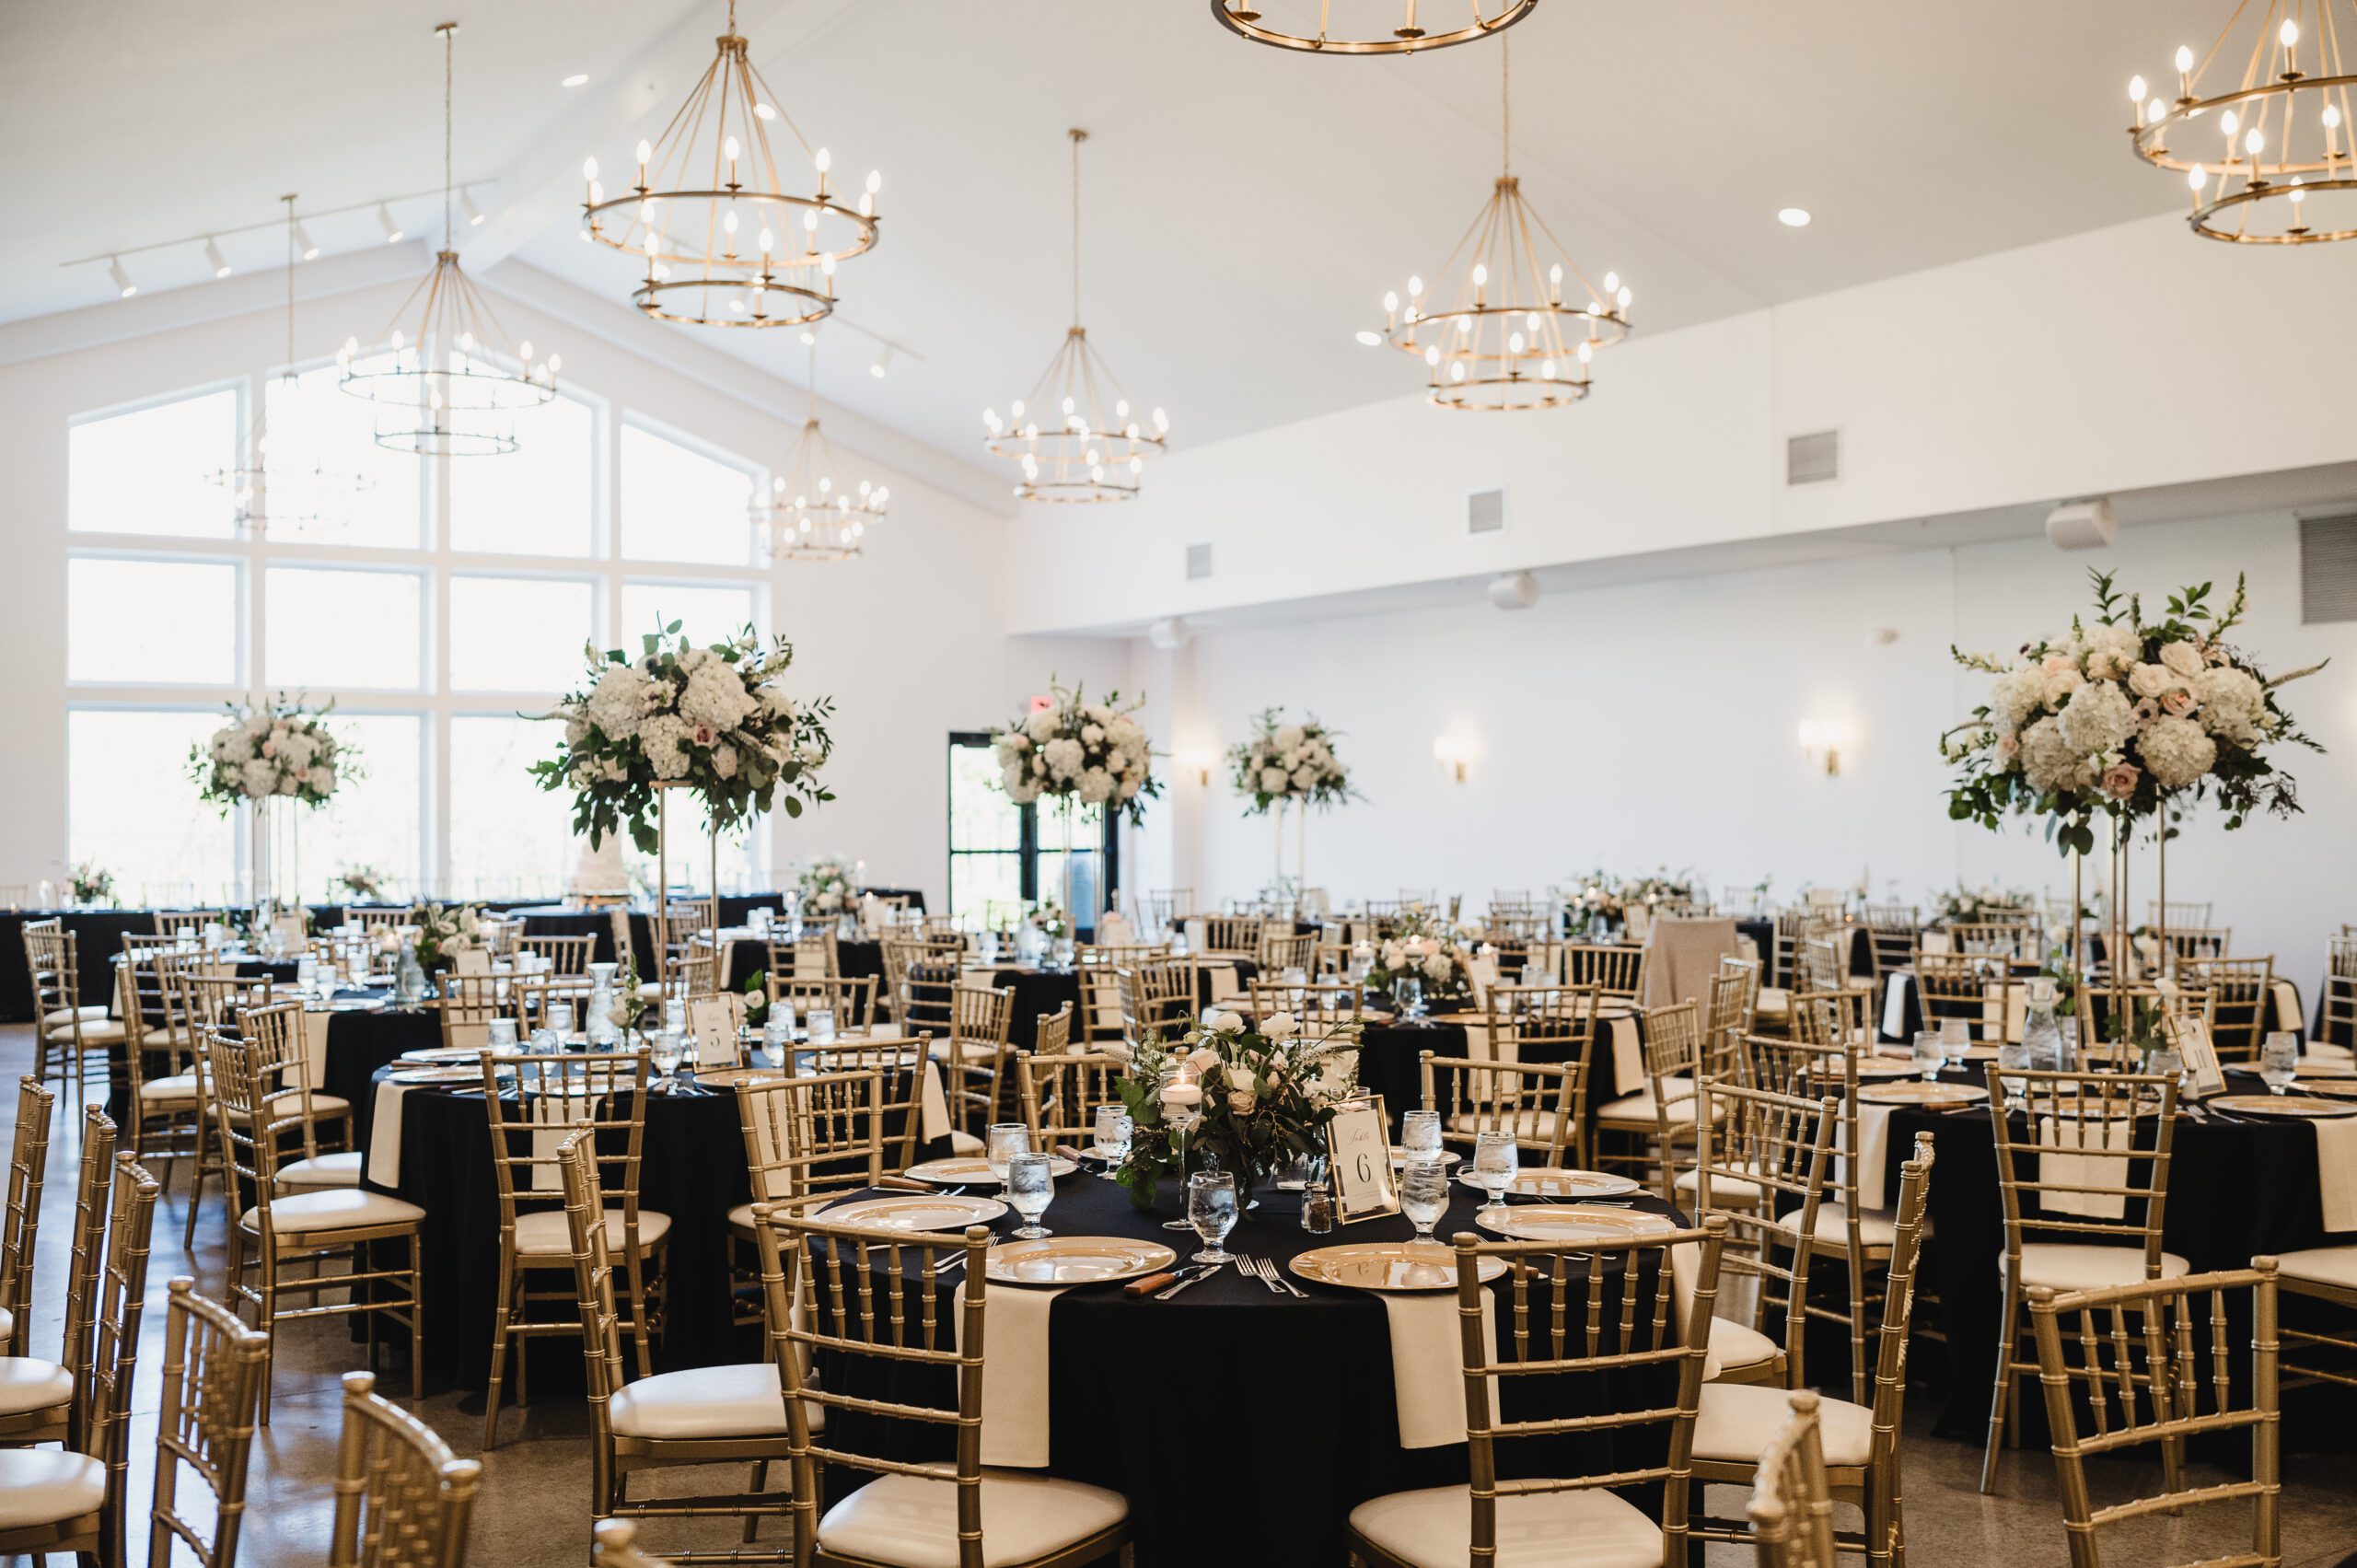
Select the most appropriate seating style based on your event type, guest demographics, and venue constraints. Consider whether you need formal dining, cocktail-style mingling, or a combination of both. Each style has different space requirements and guest interaction benefits.
✨ Seating Style Options:
✓Round tables (8-10 guests each) for formal dining and conversation
✓Rectangular tables for family-style meals and speeches
✓Cocktail tables with bar stools for networking events
✓Mixed seating with lounge areas for diverse interactions
Pro Tip:
Browse our venue directory to see layout examples and get inspiration from similar-sized events.
Step 3: Calculate Space Requirements and Flow
Determine the exact space needed for each element of your event, including seating, dance floor, stage, catering areas, and guest circulation. Plan for comfortable movement between areas and ensure accessibility compliance for all guests.
✨ Space Calculation Essentials:
✓Allow 10-12 sq ft per person for dining areas
✓Reserve 15-20% of total space for circulation and movement
✓Plan 3-4 sq ft per person for dance floor area
✓Ensure 36-inch minimum walkways between table rows
✓Include buffer zones around high-traffic areas like bars
✓Consider separate entrance and exit flows for efficiency
Step 4: Design Functional Zone Layouts
Create distinct zones within your venue to optimize guest experience and operational efficiency. Each zone should serve a specific purpose while maintaining visual cohesion and logical flow throughout the space.
Dining Zone
Primary seating area with tables arranged for optimal sightlines to stage and easy service access.
Entertainment Zone
Stage, dance floor, and performance areas positioned for maximum guest engagement and acoustics.
Social Zone
Cocktail areas, lounge seating, and networking spaces for informal guest interactions.
Service Zone
Bar stations, catering setup, gift tables, and registration areas strategically placed for efficiency.
Step 5: Plan Entertainment and Stage Areas
Position your entertainment areas to ensure all 300 guests have clear sightlines while maintaining adequate space for performances. Consider acoustics, lighting requirements, and safety protocols for both performers and guests.
✨ Entertainment Planning Ideas:
- ✓Stage positioning: Elevate 18-24 inches for visibility from back tables
- ✓Dance floor placement: Central location with 40-50 sq ft for 300 guests
- ✓Sound considerations: Position speakers to avoid dead zones and feedback
Step 6: Arrange Catering and Service Stations
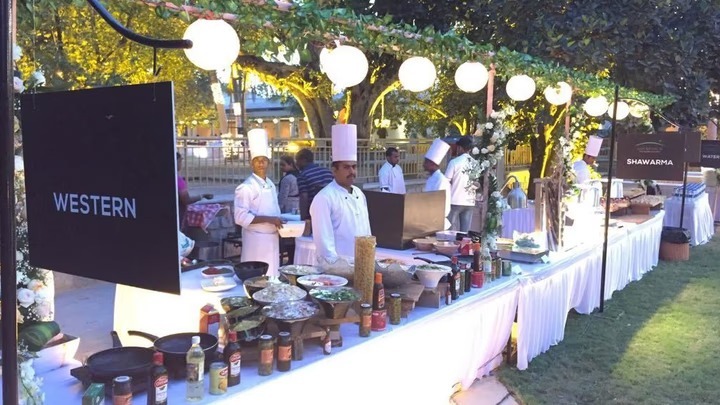
Design your catering layout to minimize wait times and congestion while maintaining food quality and presentation. Strategic placement of bars, buffets, and service stations ensures smooth operations throughout your event.
✨ Service Station Must-Haves:
✓Multiple bar stations to prevent bottlenecks (1 bar per 75-100 guests)
✓Buffet lines with clear start and end points
✓Separate stations for different food categories
✓Easy access routes for catering staff
✓Adequate space for food warmers and serving equipment
✓Strategic placement away from high-traffic entertainment areas
Step 7: Create Event Day Timeline and Setup
Develop a detailed timeline for venue setup, ensuring all layout elements are positioned correctly and efficiently. Coordinate with vendors and venue staff to minimize setup time and maximize preparation quality.
✨ Sample Timeline:
6 hours before:Begin venue setup with tables, chairs, and major furniture placement
4 hours before:Install lighting, sound equipment, and stage setup
2 hours before:Set up catering stations, bars, and decorative elements
1 hour before:Final layout checks, lighting tests, and staff briefings
30 mins before:Guest reception area ready, registration tables set
Event start:All zones operational with staff positioned and ready
Step 8: Document and Coordinate Final Layout
Create comprehensive documentation of your final venue layout including floor plans, vendor positions, emergency exits, and staff assignments. This documentation becomes invaluable for day-of coordination and future event planning reference.
✨ Documentation Options:
- ✓Digital floor plans with detailed measurements and specifications
- ✓Photography of setup process for future reference and vendor coordination
- ✓Emergency evacuation plans clearly marked and communicated to all staff
Ready to Plan Your Perfect Venue Layout?
<p>Transform your venue layout planning with Happiffie's expert support and comprehensive vendor network. Get professional guidance for your 300-guest celebration.</p>
Pro Tips for Success
Start Early
Begin venue layout planning at least 6-8 weeks before your event to secure optimal vendor bookings and allow time for adjustments.
Stay Organized
Use Happiffie's planning tools to track vendor communications, layout changes, and timeline updates in one centralized location.
Use Reverse Auction
Get competitive quotes for setup services, furniture rentals, and decoration through our reverse auction system to optimize your budget.
Plan for Flexibility
Design your layout with backup options for weather changes, guest count adjustments, or last-minute vendor modifications.

Are you a Vendor? Grow Your Business with Happiffie!
- High intent verified leads
- Reverse auction opportunities
- AI business tools & insights
- Dedicated vendor dashboard
- Grow your business, your way
1M+Active Users
300+Events Daily
High QualityLeads
FasterBookings
It's free & takes less than 2 minutes!